Table of Contents
There are a lot of benefits to using a safety razor - closer shaves, better for the environment, and less irritation just to name a few. But learning how to use a safety razor can be intimidating. There is a lot of information out there about how to start and it can be daunting for a beginner safety razor user. After a decade of producing and selling razors to tens of thousands of customers, we've seen it all. So here are our five beginner safety razor tips.
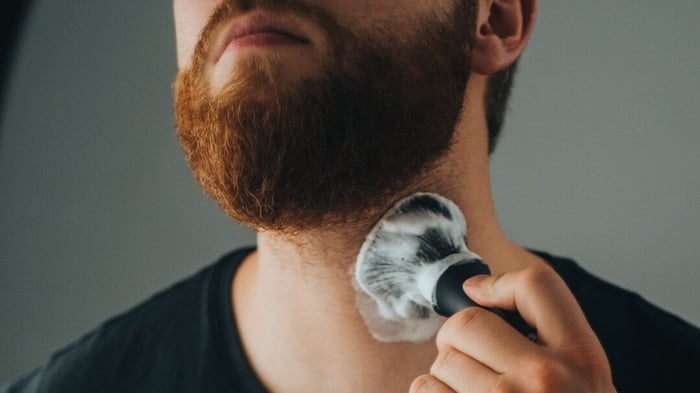
Tip 1: You don't need a shaving brush to use a safety razor
Safety razors are often associated with a style of shaving called wet shaving. This is the old school way of shaving that uses a shaving soap, shaving brush, and often times a shaving bowl. It's a great way to shave and we recommend using a soap and brush if you can. It helps you build a cushiony, slick lather that will improve your shaves.
But it's important to know that learning to use a safety razor and learning to use a shaving brush are two separate skills. You don't need to use a brush to use a safety razor and you don't need to use a safety razor to use a brush. It's better to learn one skill at a time. So if you are new to safety razors, it's ok to use your shaving foam, gel, or whatever you currently use with the new razor. In fact, we recommend that you use the same setup while you learn the correct safety razor technique.
By focusing on one skill at a time and reducing variables, you'll learn quicker and can move on to the shaving brush when you're ready.
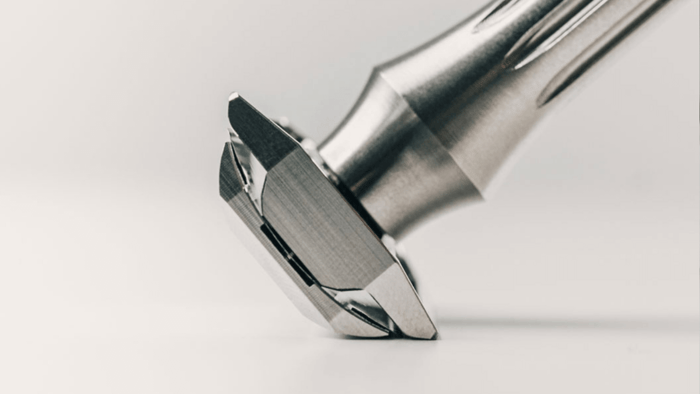
Tip 2: Use one blade only
Many guides about how to use a safety razor will recommend that you buy a sample pack so you can find the perfect blade for you. It's true that different blades give different results and it's a great idea to find that perfect blade at some point, but a beginner doesn't know enough to find their perfect blade. If you've never used a safety razor, how could you know if a blade is good for you or not?
A beginner should not start with a sample pack. Instead, pick one reputable blade and stick with it until you are getting consistently comfortable shaves. We like Astra SPs, Personnas, Gillette Silver Blues, and Feathers, but there are dozens of blades that can work. Pick a well-liked blade and commit to it. If you try several blades before you are competent with your razor, you'll never know if it's the blade or your technique that is causing the results. By reducing variables, you'll be able to focus on technique exclusively. Once you have the technique down, feel free to try every blade you can to dial in the perfect shave.
Tip 3: Start easy
You would never tell someone who has never run before to go run ten miles. You'd tell them to start slow, ease into it, and focus on consistency over results. The same is true for learning to use a safety razor. Many guides will promote the three-pass shave to get the closest results imaginable. And forums and shave groups are full of people who shave every day. So it's natural to think that's how you should shave. But those people are experienced. They've been shaving for years so their technique is dialed, their gear is curated, and their skin has grown accustomed to frequent shaves.
As you begin with a safety razor, start light. Begin with just one pass with the grain. Focus on keeping your angle consistent, modulating your pressure, and getting used to the sensation of a blade on your skin. Do not expect a close shave - that's not our goal yet. For now, our goal is comfort and consistency. Closeness will follow.
Tip 4: Take breaks
A new runner won't recover very quickly and might be sore for days after their first run. Similarly, your skin might be tender, irritated, or sore. That's normal. Don't shave with your safety razor again until your skin is healed. It's perfectly ok to skip a few days and you might want to alternate between your previous razor and the safety razor. Over time, your skin will adapt, your technique will improve, and you will recover more quickly. You can then increase the frequency of your shaves and eventually switch to the safety razor full-time.
Tip 5: Build up to closeness
Once your shaves are consistently comfortable and you are competent with your safety razor, it's time to work on getting a closer shave. Start by adding a second pass across-the-grain after your with-the-grain pass. Across-the-grain means perpendicular to the growth of your hair. So if you are shaving your cheeks, ATG means shaving from your ear toward your moth. This will get you a closer shave.
But that closeness comes with a trade-off. As before, your skin may be tender or sore after this two-pass shave. Let it heal and give yourself time to work up. At first you may want to alternate between two-pass shaves and one-pass shaves. Eventually you'll be able to do two-pass shaves exclusively.
From there, it's up to you whether to seek a third pass against the grain. This is how you get the closest possible shave, but not everyone uses three passes. Repeat the same process for adjusting to three passes as you did for two passes. Start slow, let yourself heal, and build over time.
We hope these safety razor tips help you get started! We believe that a simple, slow approach is always the way to go for beginners. By following this guide, eventually you'll be ready for a razor like the Blackbird or Osprey. Reach out to support@blacklandrazors.com if you need any help learning your new safety razor.